Teacher view
Teacher view
The following manual will describe how you as a teacher set up a CoTinker learning activity and use it in your teaching. The manual describes how the teacher view in CoTinker works. Teacher view is your teacher interface, where you can create groups, modify settings in the CoTinker module, and more.
We recommend that you and the students use the Chrome browser for optimal performance. CoTinker has primarily been built and tested on Chrome. However, other browsers should also work.
Teacher view and starting a learning activity
The following section describes how teacher view in CoTinker works and how you set up a CoTinker learning activity.
As a teacher, you have a link to a teacher view for a specific CoTinker learning activity. This link is only for you as a teacher and should not be shared with your students. Below you can see how teacher view looks the first time you access it.

Group Overview
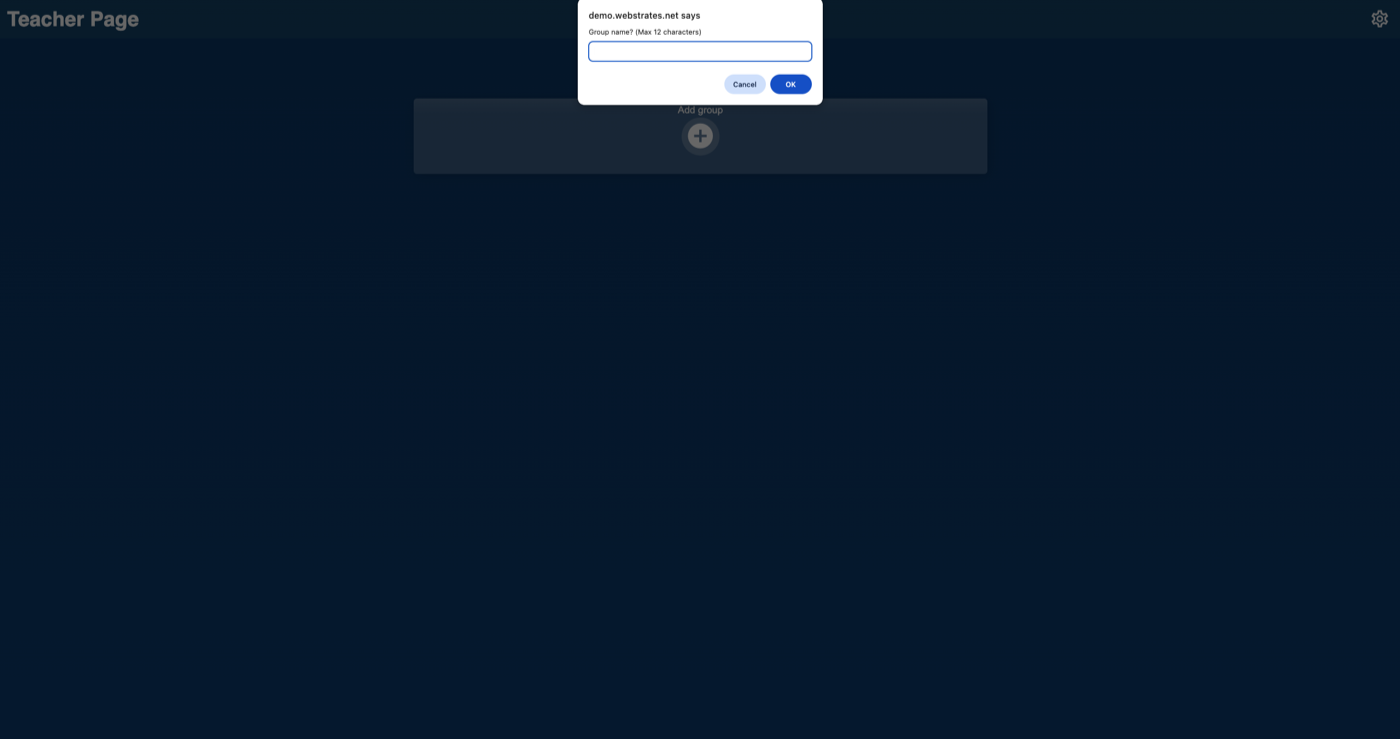
The key feature for teachers is Group Overview shown in the center. This is where you can create groups that students will work within. By clicking on “+”, a pop-up window opens where you can create a new group and name it. The group name can be a maximum of 12 characters and each group can contain a maximum of 5 students. Each group name must be unique.
Group links
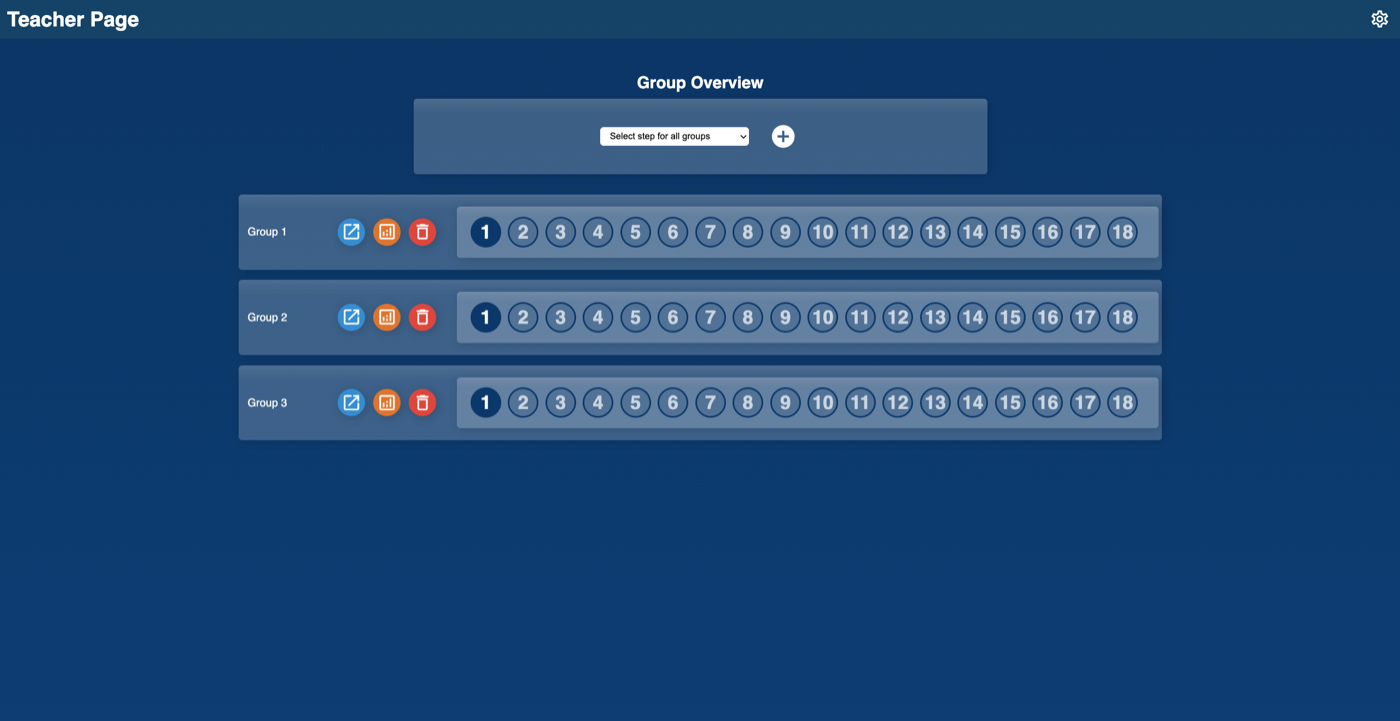
When you have created groups, you can then provide links to the different groups. To the right of the group name there are three buttons: The blue button opens the unique link to a group, which you should share with the students. A link saves all data and activity for the specific group (e.g., code that students have written or edited, chat messages, answers to questions, etc.) and most importantly, which slide or step the students have reached. If a CoTinker learning activity spans multiple lessons and days, all data is saved. You can therefore safely spread a module over multiple lessons and days without worrying that students will have to start over.
The orange button opens a window with statistics for each group. Here you can see how much time the group has spent on a slide or step and the number of events (such as chat messages, code editing, etc.) that are associated with the group. The red button deletes a group and all activity that the group has performed. Be very careful about deleting groups, as all data for that group will be deleted and the students will have to start over in a new group.
Moving groups
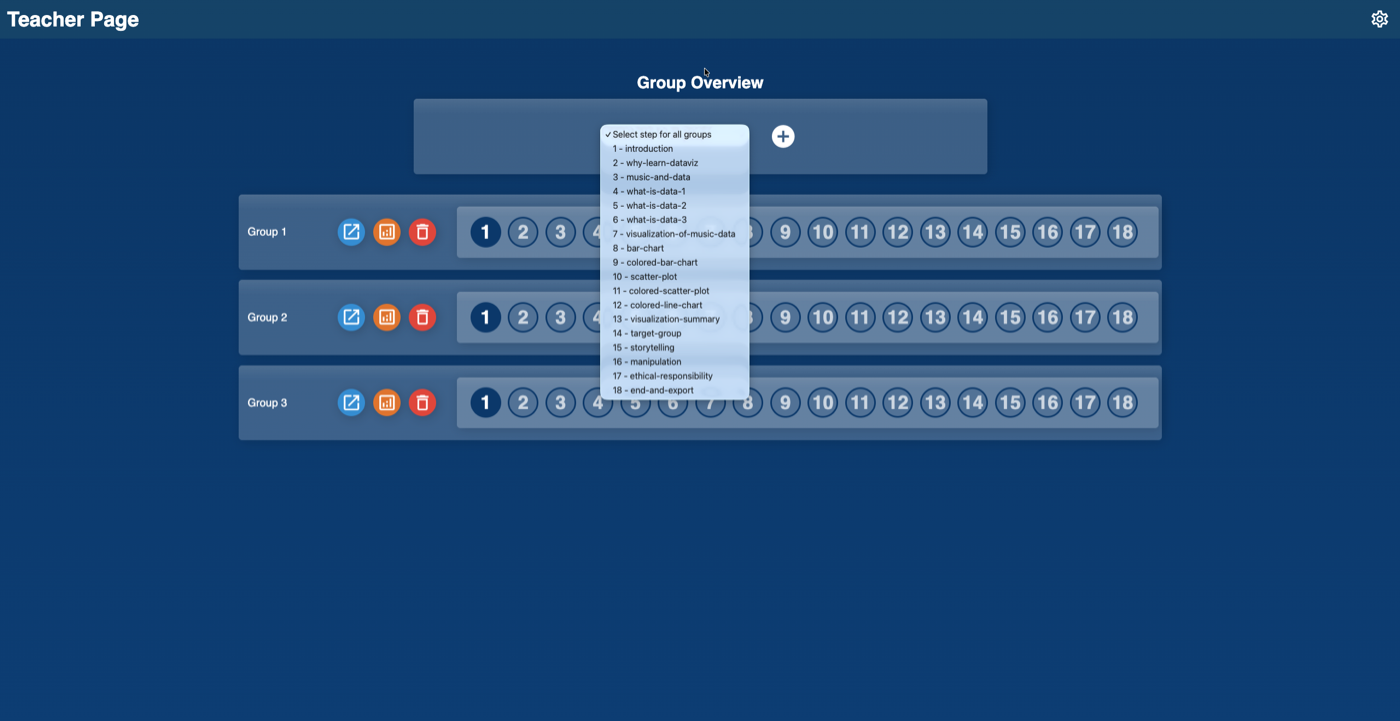
When you have created one or more groups, a dropdown menu appears at the top, which you can use to move all groups to a specific slide or step at the same time. A slide or step has both a number and a title, which you will be able to see in the dropdown menu.
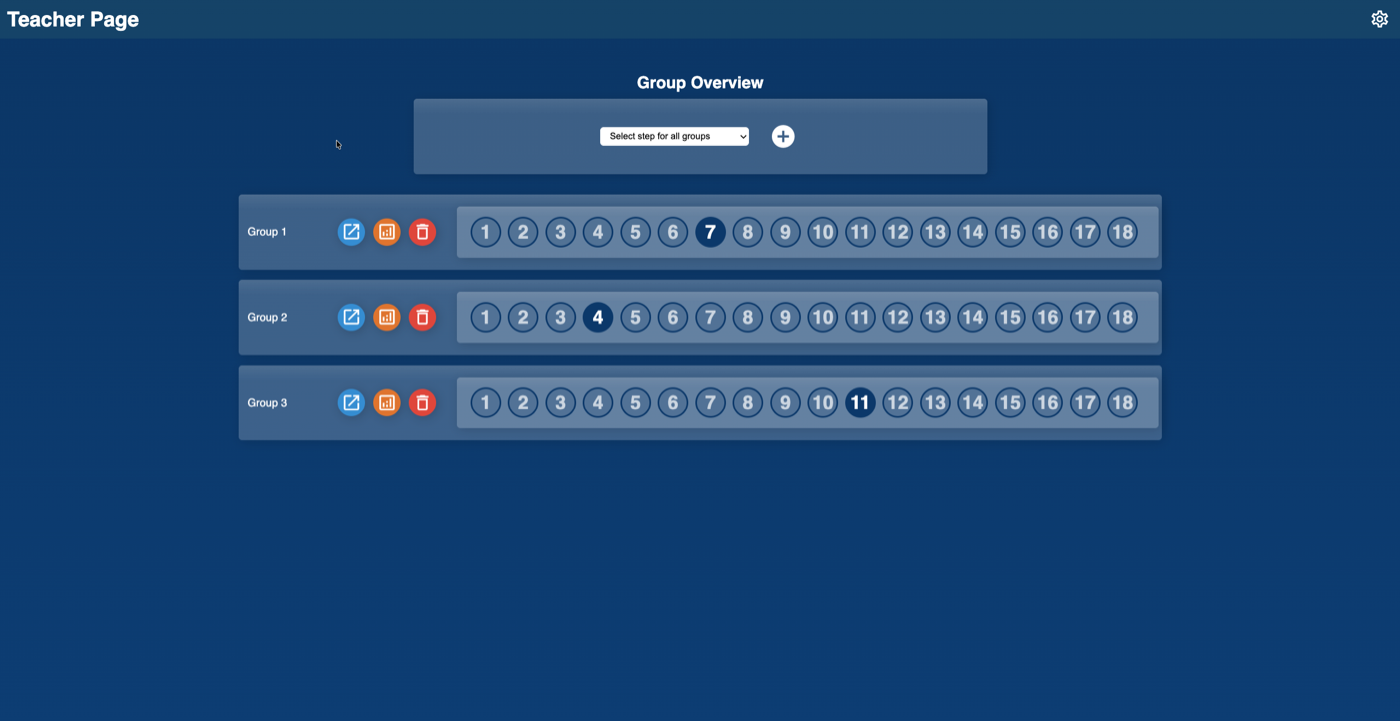
To the right of the group name and the 3 buttons there is a series of circles with numbers inside. Each circle with a number represents a specific slide or step in the CoTinker module. This helps provide a visual overview of how far each group has progressed. A dark circle shows that the group has reached this specific slide or step. As a teacher, you can move a specific group to a specific slide or step by clicking on a circle, which opens a pop-up menu where you can confirm whether to move the group. This moves only that group and not the other groups.
Working across multiple lessons
CoTinker can be used across multiple lessons. Both the link to the teacher view and the students group link saves all work continously. The continue working, simply reopen the links again.
Group size
The recommend group size is 3-4 students per group. In our experience, this gives the best group dynamic when working in CoTinker.